Working remotely isn’t a new concept, but since the COVID-19 pandemic, so many more businesses have now switched to a hybrid or completely remote working approach. With that in mind, software needs to adapt and have the ability to cater to businesses on the move and those who want to be able to work from almost anywhere.
Sage 50 Accounts has had remote access for a number of years now in the form of Sage Drive but with the release of v27, this was revitalised with Remote Data Access. On the whole, not much has changed for everyday use but there are some changes around how you upload your data and give access to your users. In this blog, I’ll run through what is involved in setting up RDA (Remote Data Access) for Sage 50 Accounts.
Pre setup checklist
So, what do we need first? Well, as with most software, you’ll need to check the minimum requirements needed to use RDA. The obvious one is the internet connection. It goes without saying really, to work remotely, you’re going to need an internet connection. This connection speed should be at least 4mbps download and 2mbps upload.
Next, you will need to ensure all machines accessing the data are the same version. An easy way to find this out is to open your Sage 50 Accounts and go to Help > About > Program Details

If you have any machines with older versions (lower build numbers), you can check for the latest updates here
Ensure all users are logged out of the database. When uploading the data to the cloud, the data needs exclusive access without any changes, so ensure nobody is still logged in
Back up – you can never have enough backs ups! Grab a backup of your data before setting up RDA, data only is sufficient
Upload your data to Remote Data Access
- Open Sage 50 Accounts and log in to your chosen company data using the Manager login
- Select Settings > User Management > Users
- Click Manager > Edit
- Check the Allow Remote Data Access check-box > Continue
- Enter and confirm the passphrase to be used when remote users connect to your data. Other users will need this when they connect to the data remotely for the first time
- For more information on the passphrase, refer to the passphrase section below. Make sure your passphrase is at least 15 characters including one uppercase and lowercase character
- If prompted, enter your Sage account (online account) email and password > Log in.
- Your data will now be uploaded to Remote Data Access and once it has been completed, click
- You have now set up Remote Data Access and can begin to connect to it from other sites

Sharing access to other users (sites)
Before a user can connect to the data using RDA, you have to enable this access via their username. You can do this in two simple steps:
- Go to Settings > User management > Users > Choose the user you want to grant access to > click the Allow Remote Data Access check box

- Enter the first name, last name, and email address > Continue
- Repeat for as many users as you wish to use RDA
Users will get an email from Sage to confirm that they have been granted access to work on the data remotely and the steps on how to connect to it. In case this isn’t received, let’s have a look at what steps they need to carry out. Ensure the users are aware of the passphrase you set up when uploading the data
- Open Sage 50 Accounts > Add Company
- In the Add a company window, click the download option on the right

- Click Continue and if prompted with the steps on how to connect click OK
- Enter your Sage account Email and Password and click login (if a Sage online account isn’t set up, chose the options to create one and follow the steps to create an account)
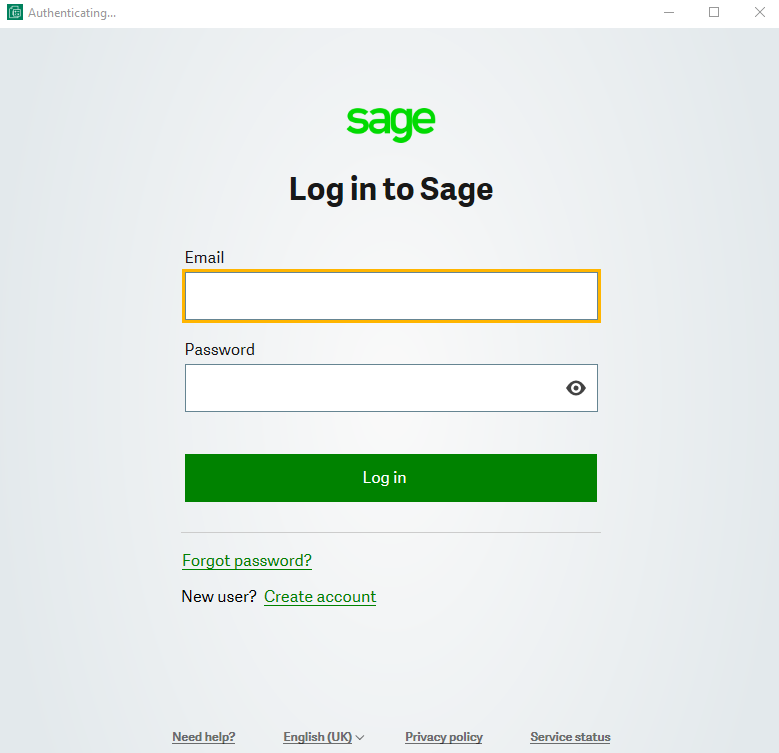
- Select the company you want to download and connect with RDA (this will be the one we initially uploaded.) You will be able to see the Company name, the version, who the data owner is ( in this guide, it would be the email associated with the Manager login who updated the data initially)
- Once selected, choose Next
- IMPORTANT Enter the passphrase used when the data was uploaded > Continue > Download
- The first time you connect, a copy of the data downloads to your local machine. Depending on the size of the data and the speed of your Internet connection, it can take several minutes to create the local dataset
- Once downloaded, you login to the dataset as you would any Sage50 Accounts dataset normally. One thing you will notice when logging in, the company data will be listed as Online – Remote on the Company selection window. Also, Connected via Remote Data Access will appear in the bottom right of your application. Other than those minor changes, your application will function in the same way except you can connect from home, the local coffee shop, or even on holiday! Ok, maybe not the last one…
Conclusion
We hope you found the above useful. If you would like to have a chat about anything mentioned in this blog, give us a call on 01824 780000, email us at info@itassolutions.co.uk or fill out our contact form here, and someone will be in touch with you to help!
If you are looking for a true cloud solution, take a look at Sage 200 Standard or Sage Intacct. Both are cloud finance solutions with powerful features and functionality. You can learn more about them in the video below!
If you’re interested in learning more about the different Sage products available in the Cloud we have an on-demand webinar you might find interesting, Sage in the Cloud.
Register below to begin watching:


We are a multi-award-winning, platinum Sage Partner, specialising in Sage 200 Professional, Sage 200 Standard, Sage Intacct and Sage 50 accounting solutions.
At itas, we believe in working in partnership with you to deliver the perfect solution that you want and need. We will design a tailor-made business management solution specifically for you and your business, giving you the freedom to focus on what you do best.